

On this post I will be covering a very crucial subject in SwiftUI. How to detect the OS in SwiftUI and which particular is running that current time. SwiftUI 2.0 allows you to write software which can have an OS condition. Furthermore we can specify which piece of code it will be run on a certain OS whether that is iOS or MacOS. Now that SwiftUI has become Multiplatform, it is important to know how to detect the iOS. I will be creating a Navigation TabBar for iOS and a SideBar for MacOS which is most likely to want to create different navigation experiences for the above operating systems.
Detect OS in SwiftUI | overview
First step is to make it Multiplatform. You can create a Multiplatform app by choosing the Multiplatform.
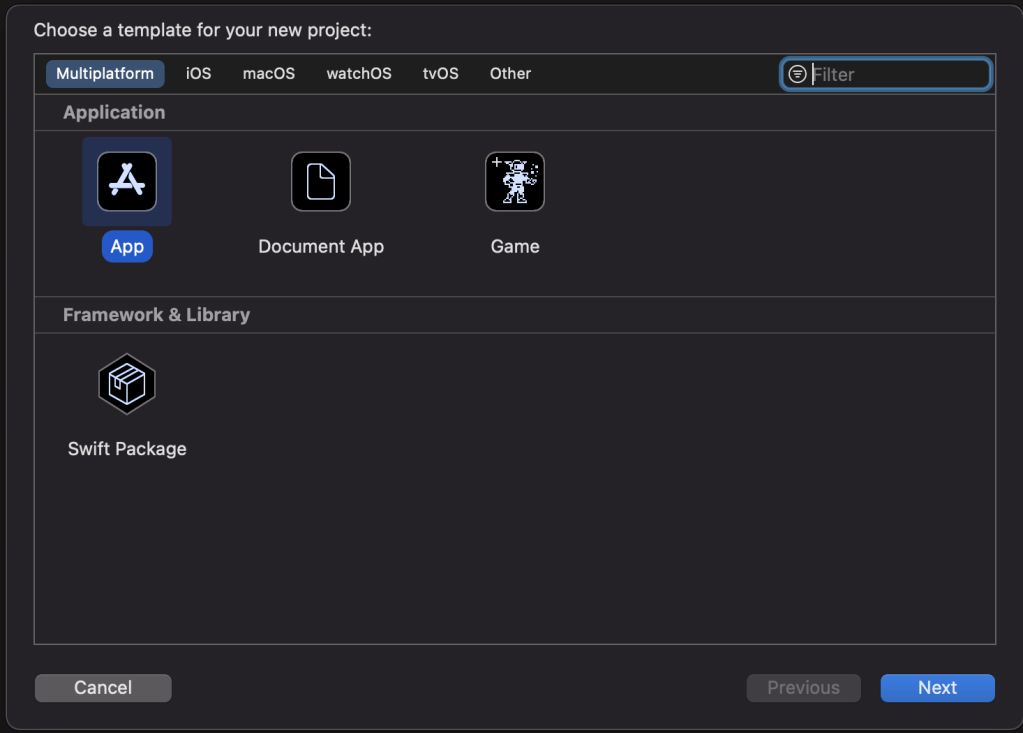
Create a multiplatform app
After doing that it is possible to run your app in multiple devices.
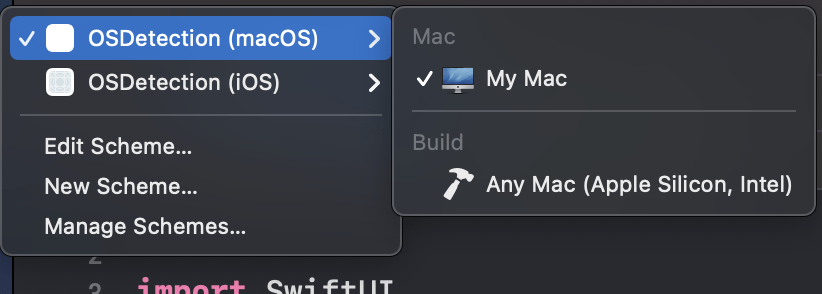
Platforms to run your app
Create Shared Data
Make sure you click both iOS and macOS. of course this file is only being used for data I would choose a plain Swift file rather than a SwiftUI. Make the file and add the following data to iterate.
firstly, to write clean code and give the example of files that can be in both macOS and iOS we need to create a mock data that will be shared to every OS our app is running.
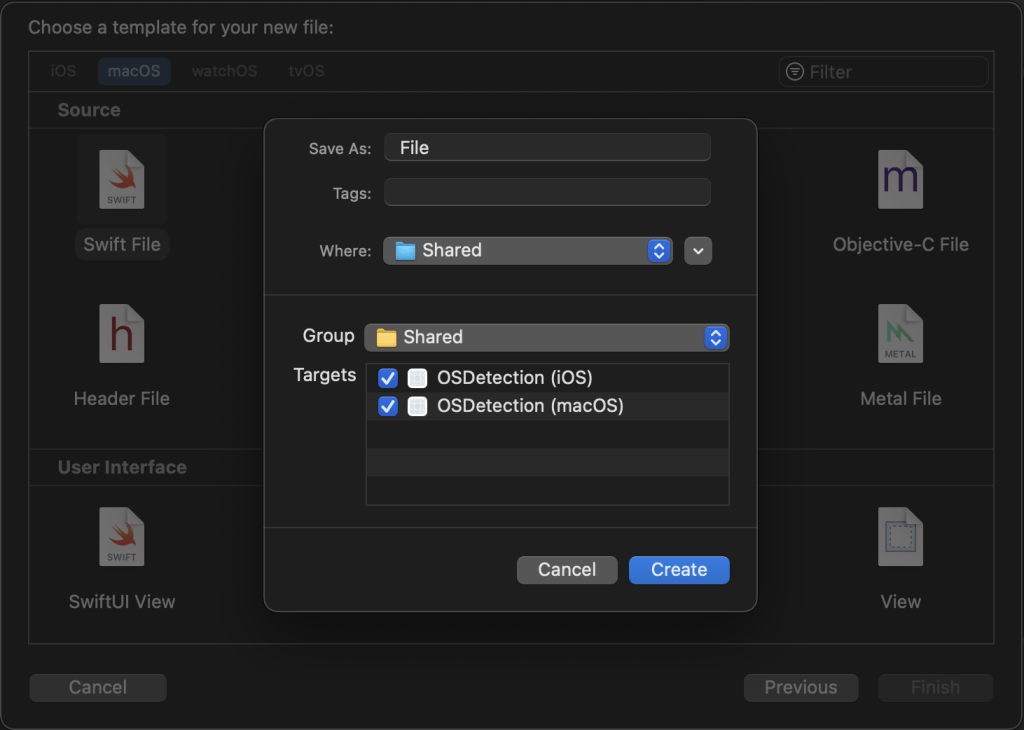
create a file being Detected on every OS in SwiftUI
struct MenuModel: Identifiable {
    var id = UUID()
    var icon: String
    var name: String
}
var Menu = [
    MenuModel(icon: "square.grid.2x2.fill", name: "Dashboard"),
    MenuModel(icon: "message.fill", name: "Messages"),
    MenuModel(icon: "bell.fill", name: "Notification"),
    MenuModel(icon: "heart.fill", name: "Favourites"),
    MenuModel(icon: "person.fill", name: "My Profile"),
]
iOS Navigation
Firstly as you can see, you have an array of folders. Within these folders you can add any file you want be in a shared mode, meaning that it can be shared in iOS and macOS respectively. Same philosophy with the iOS and macOS folder.

File System on Multiplatform
Add a Navigation for iOS
the following step is to create a file where it will be specified for iOS
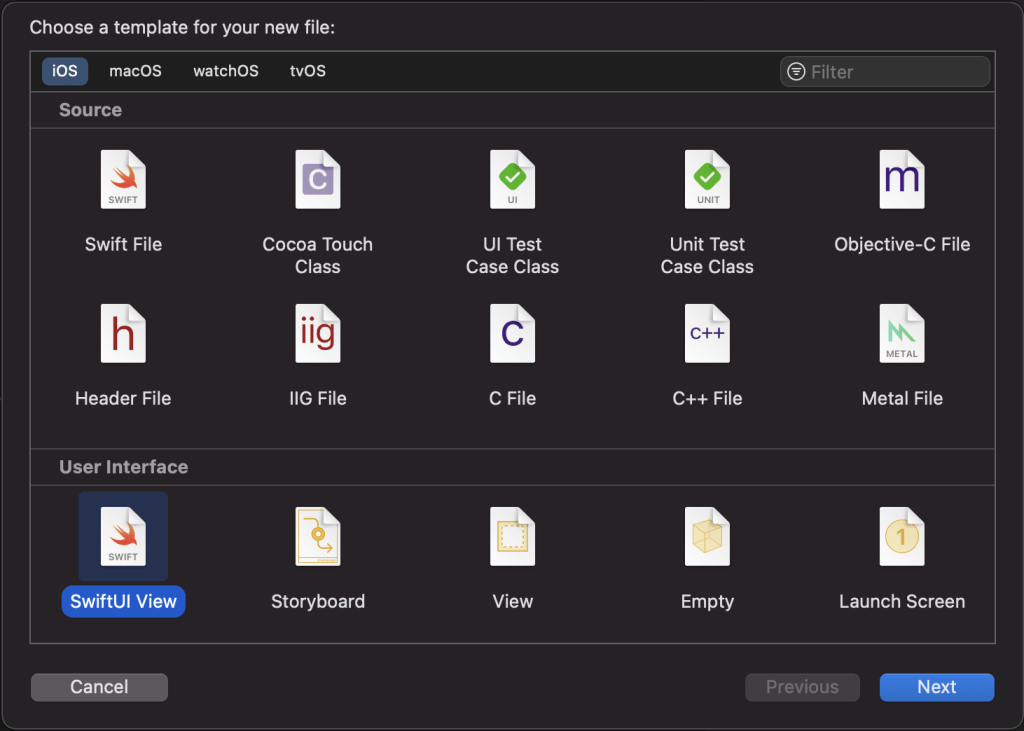
the next step is choose the iOS and the type of file you want. Apparently, in this case is iOS and SwiftUI.

Create a file to be accessible only from iOS
As you can see you need to specify the group and the target which in this case of course is iOS, since we are making a navigation for iOS.
create a View variable.
var iphoneNavView: some View {
    TabView {
        ForEach(Menu) { m in
        Text(m.name)
            .tabItem {
                Image(systemName: m.icon)
                Text(m.name)
            }
        }
    }.navigationTitle("Menu")
}
Add a Navigation for macOS
To be able to have a different navigation for macOS you need to follow the same procedure as I have done with iOS. Obviously this time you need to choose the macOS option.
create the Navigation for macOS
first you need to create the file and added in the right OS target.

Create a SwiftUI file
Make sure it is in the right Group and Target.

Create a file to be accessible only from macOS
create the navigation view the same way you did with iOS
var NavigationMacOS: some View {
    NavigationView {
    List(Menu) { m in
        NavigationLink(
            destination: Text(m.name)) {
            Label(m.name, systemImage: m.icon)
        }
    }.listStyle(SidebarListStyle())
    }.navigationTitle("Menu")
}
How you can detect OS in SwiftUI
The bellow code is the backbone on how to detect OS in SwiftUI os() accepts two operating system macOS and iOS. You can use multiple chained if statements by using #elseif.
struct ContentView: View {
    var body: some View {
        #if os(iOS)
        iphoneNavView
        #else
        NavigationMacOS
        #endif
    }
}
The result on detection os in SwiftUI
After combing all the above code the result is different when we run the same code base on macOS or iOS.

macOS was Detected in SwiftUI

iOS was Detected in SwiftUI
You can find the code on my GitHub.